Connecting your B-hyve Device to open networks
This article will go over how to connect your B-hyve Timer/WiFi hub to an open/unsecured network. (This refers to any network that does not have a password associated with it)
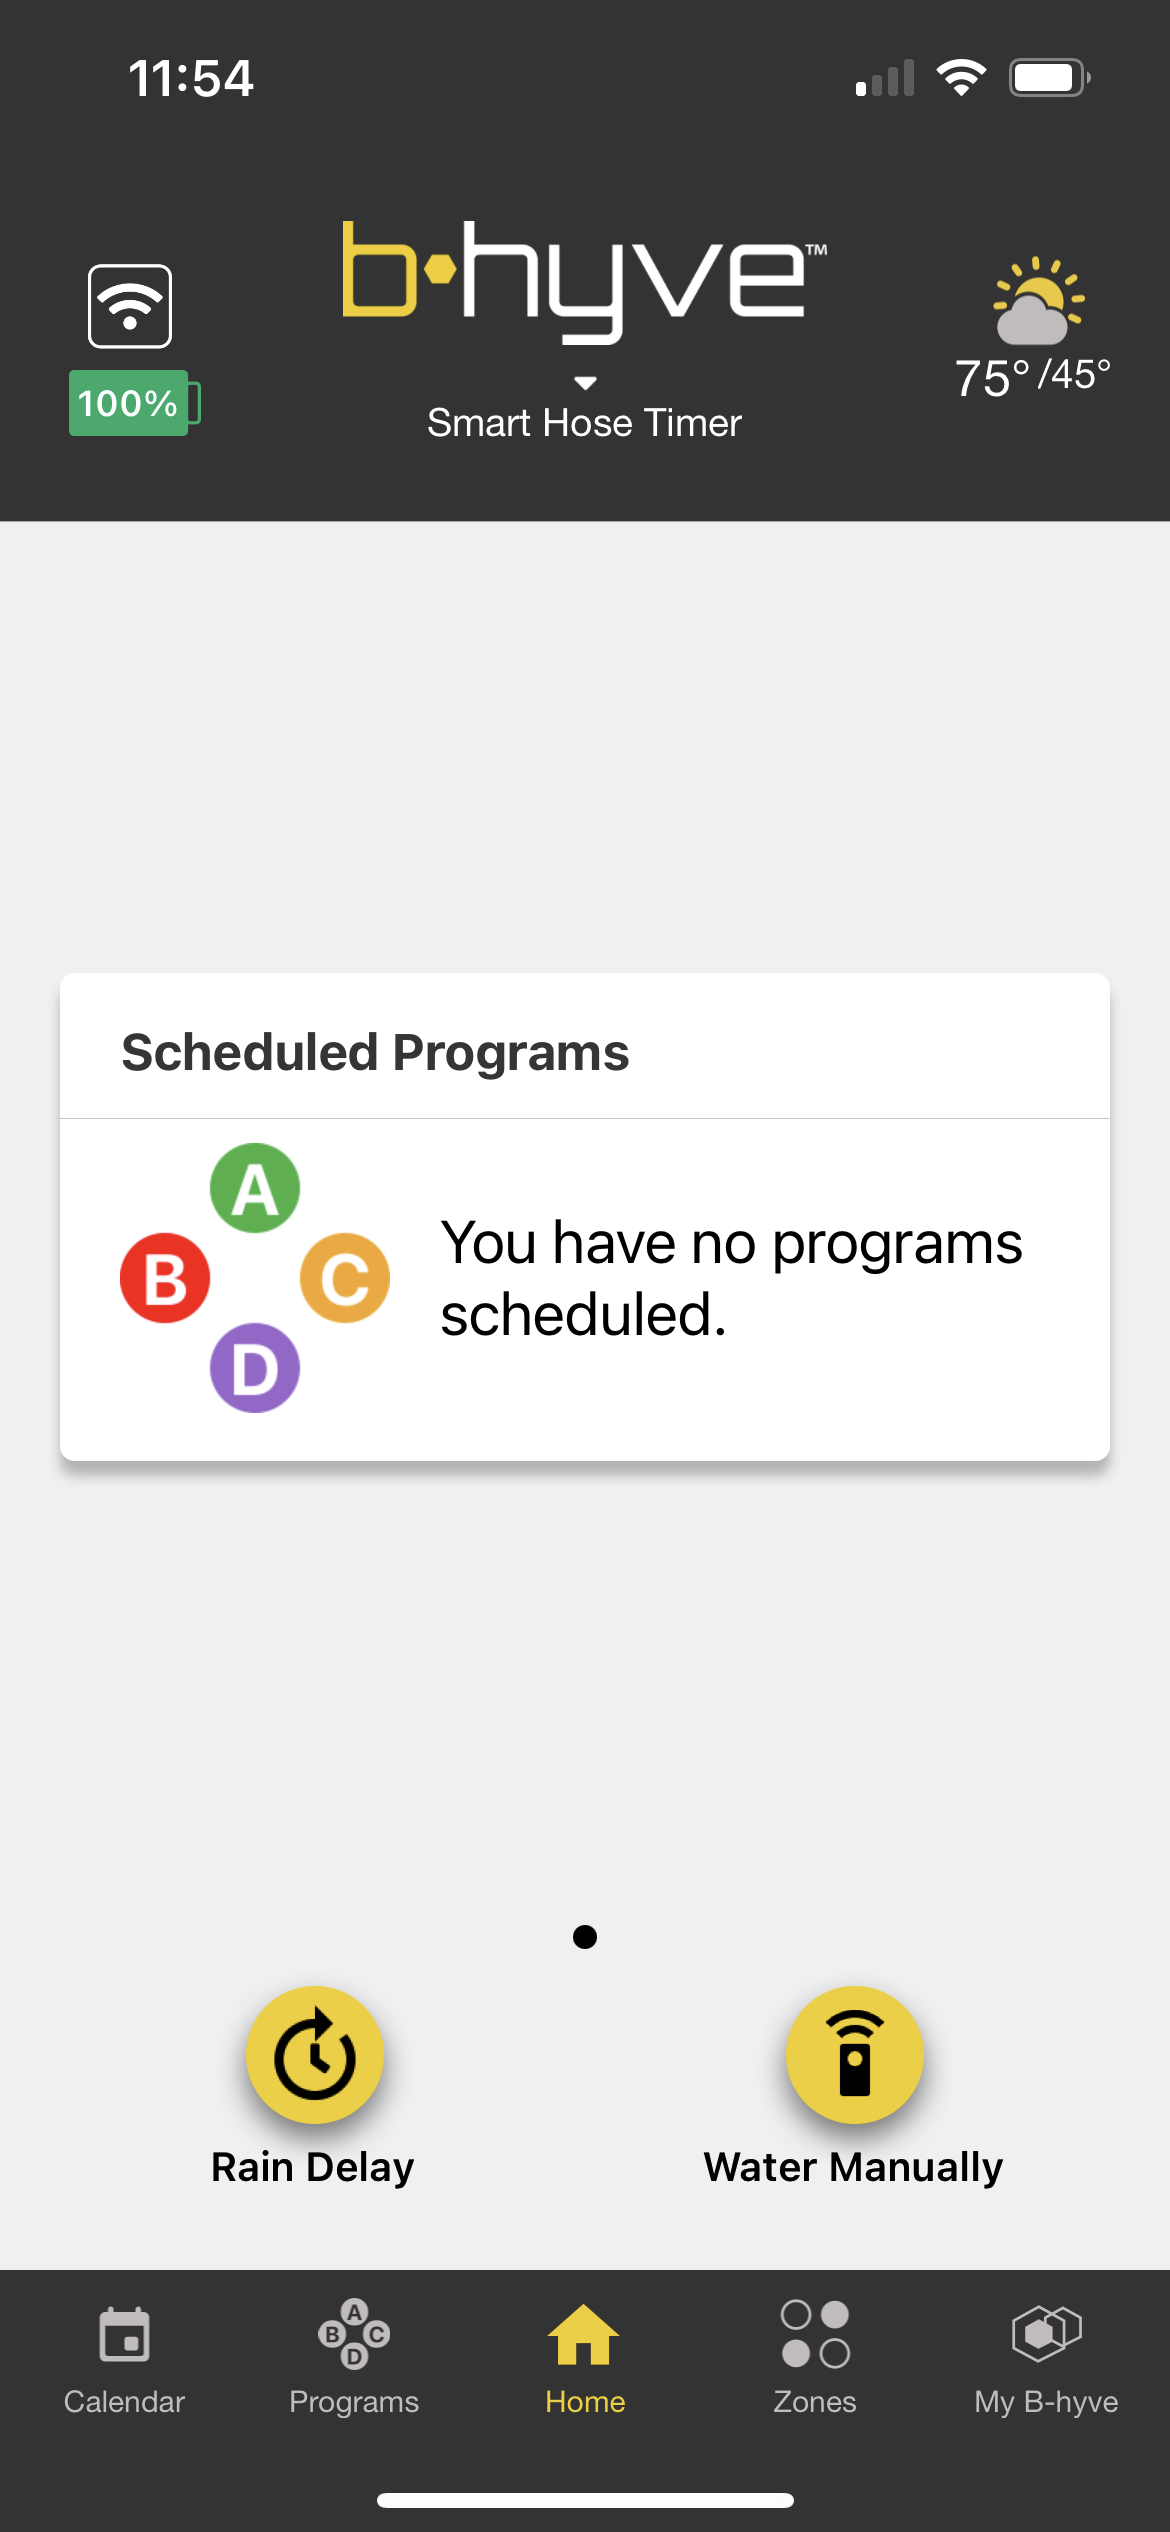
First, you want to open your B-hyve app, and then from the “Home” Page, tap on “My B-hyve”.
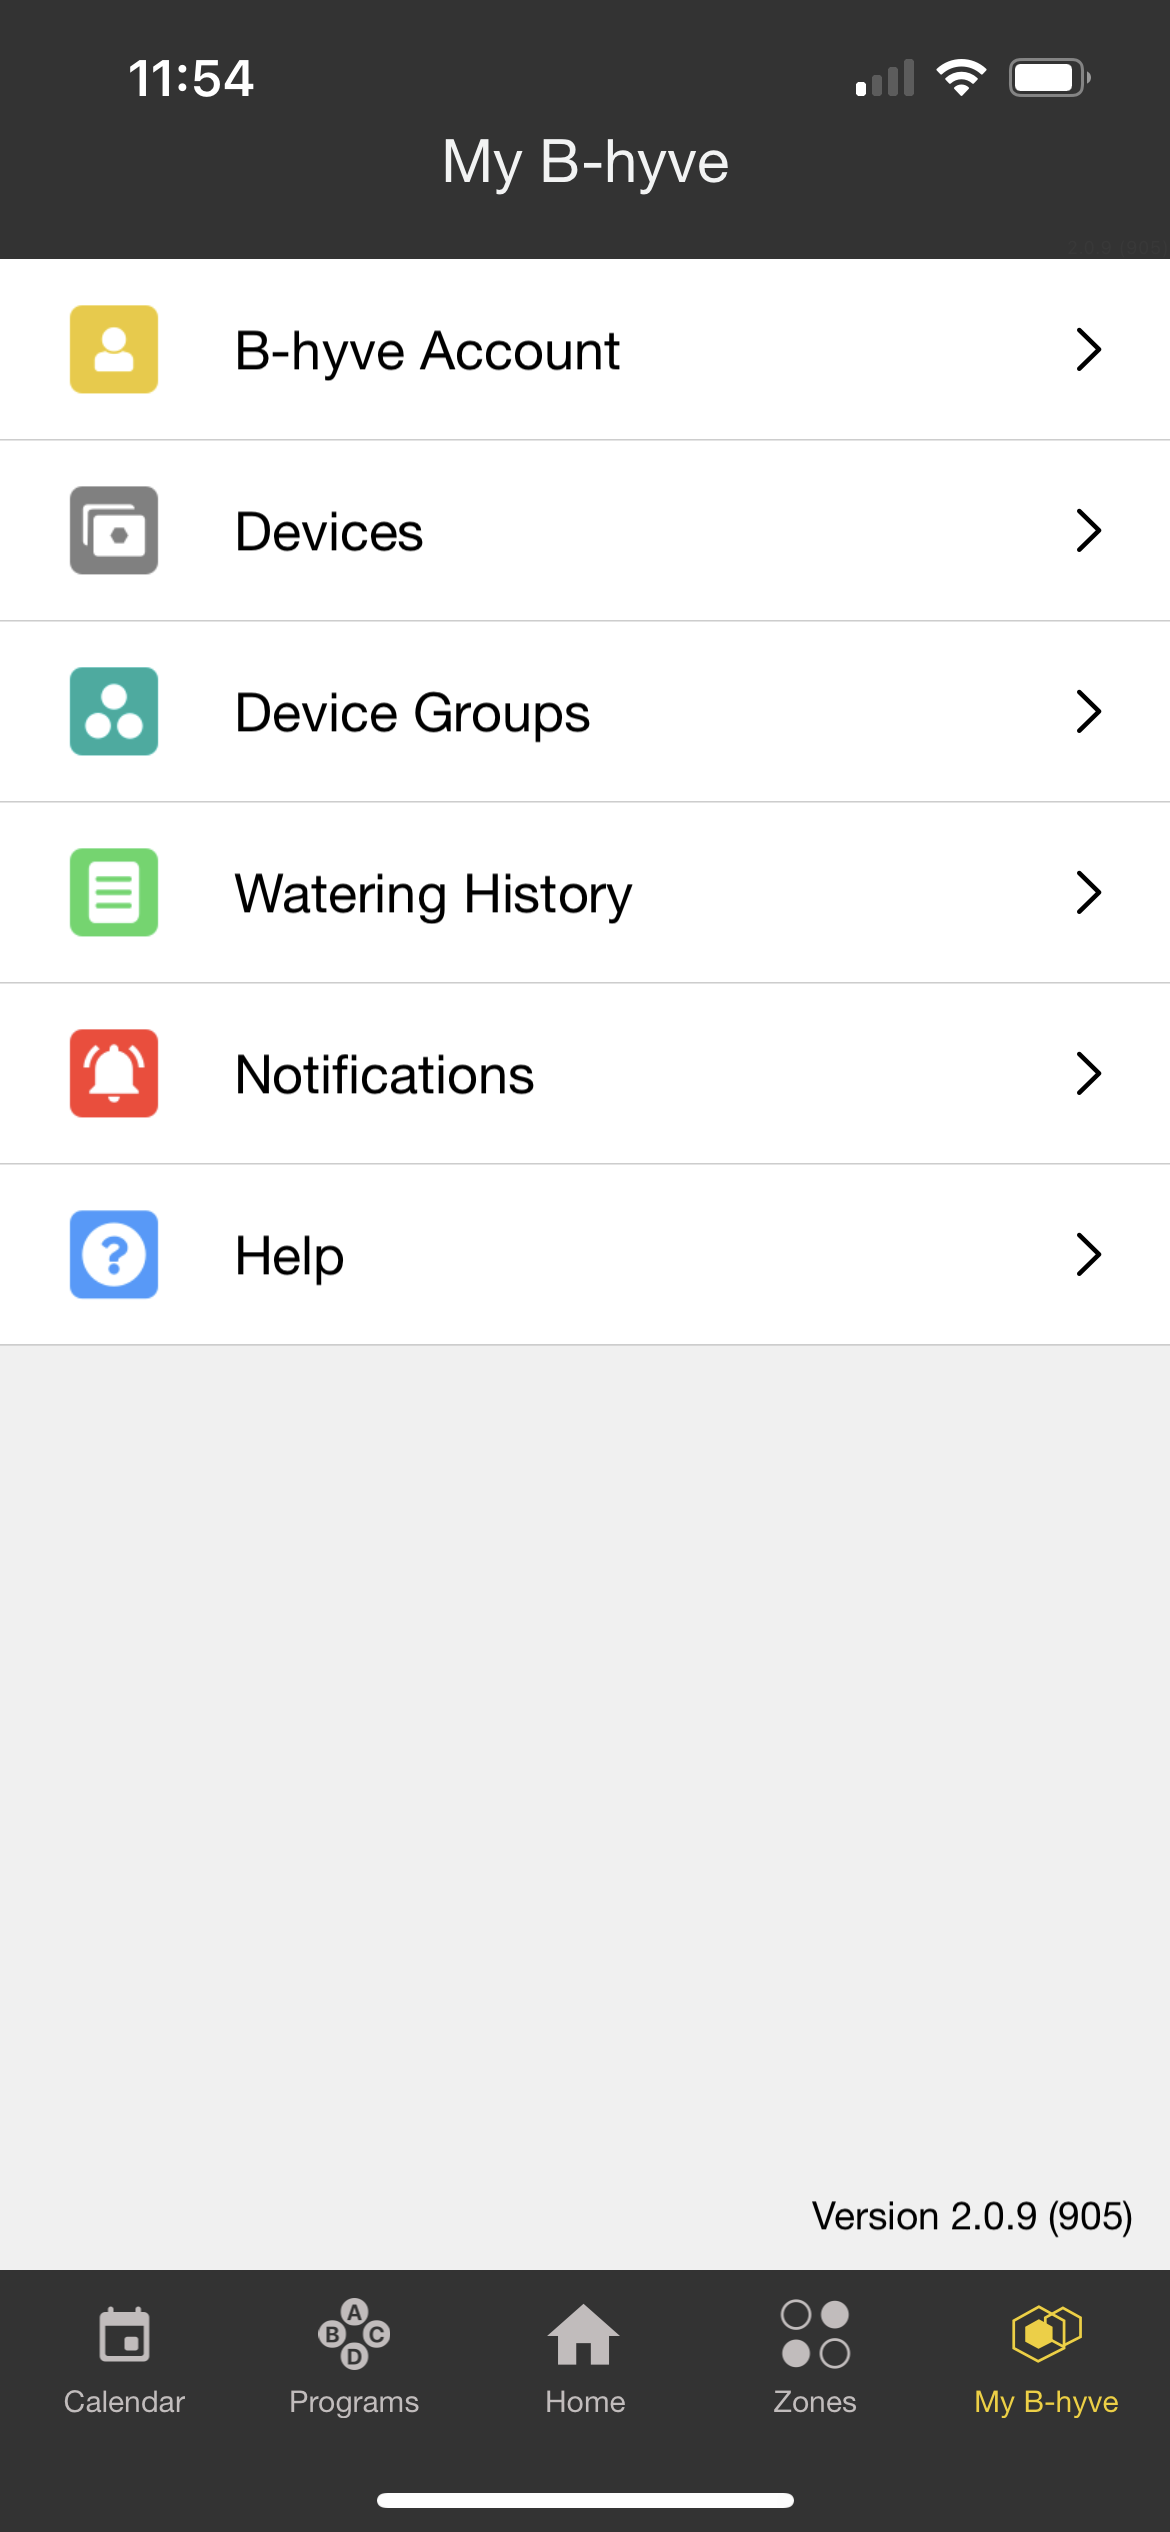
Then from the “My B-hyve” page, select “Devices”
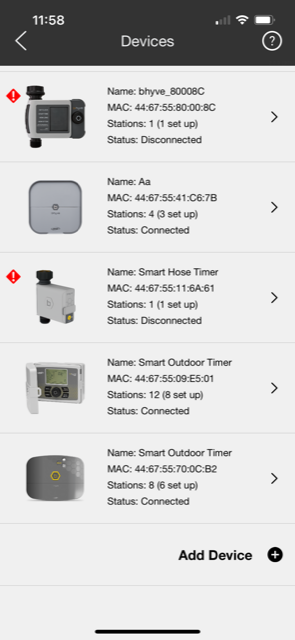
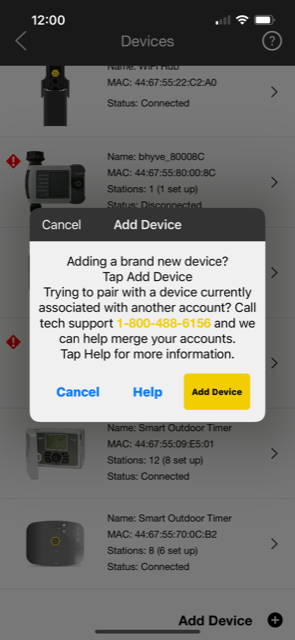
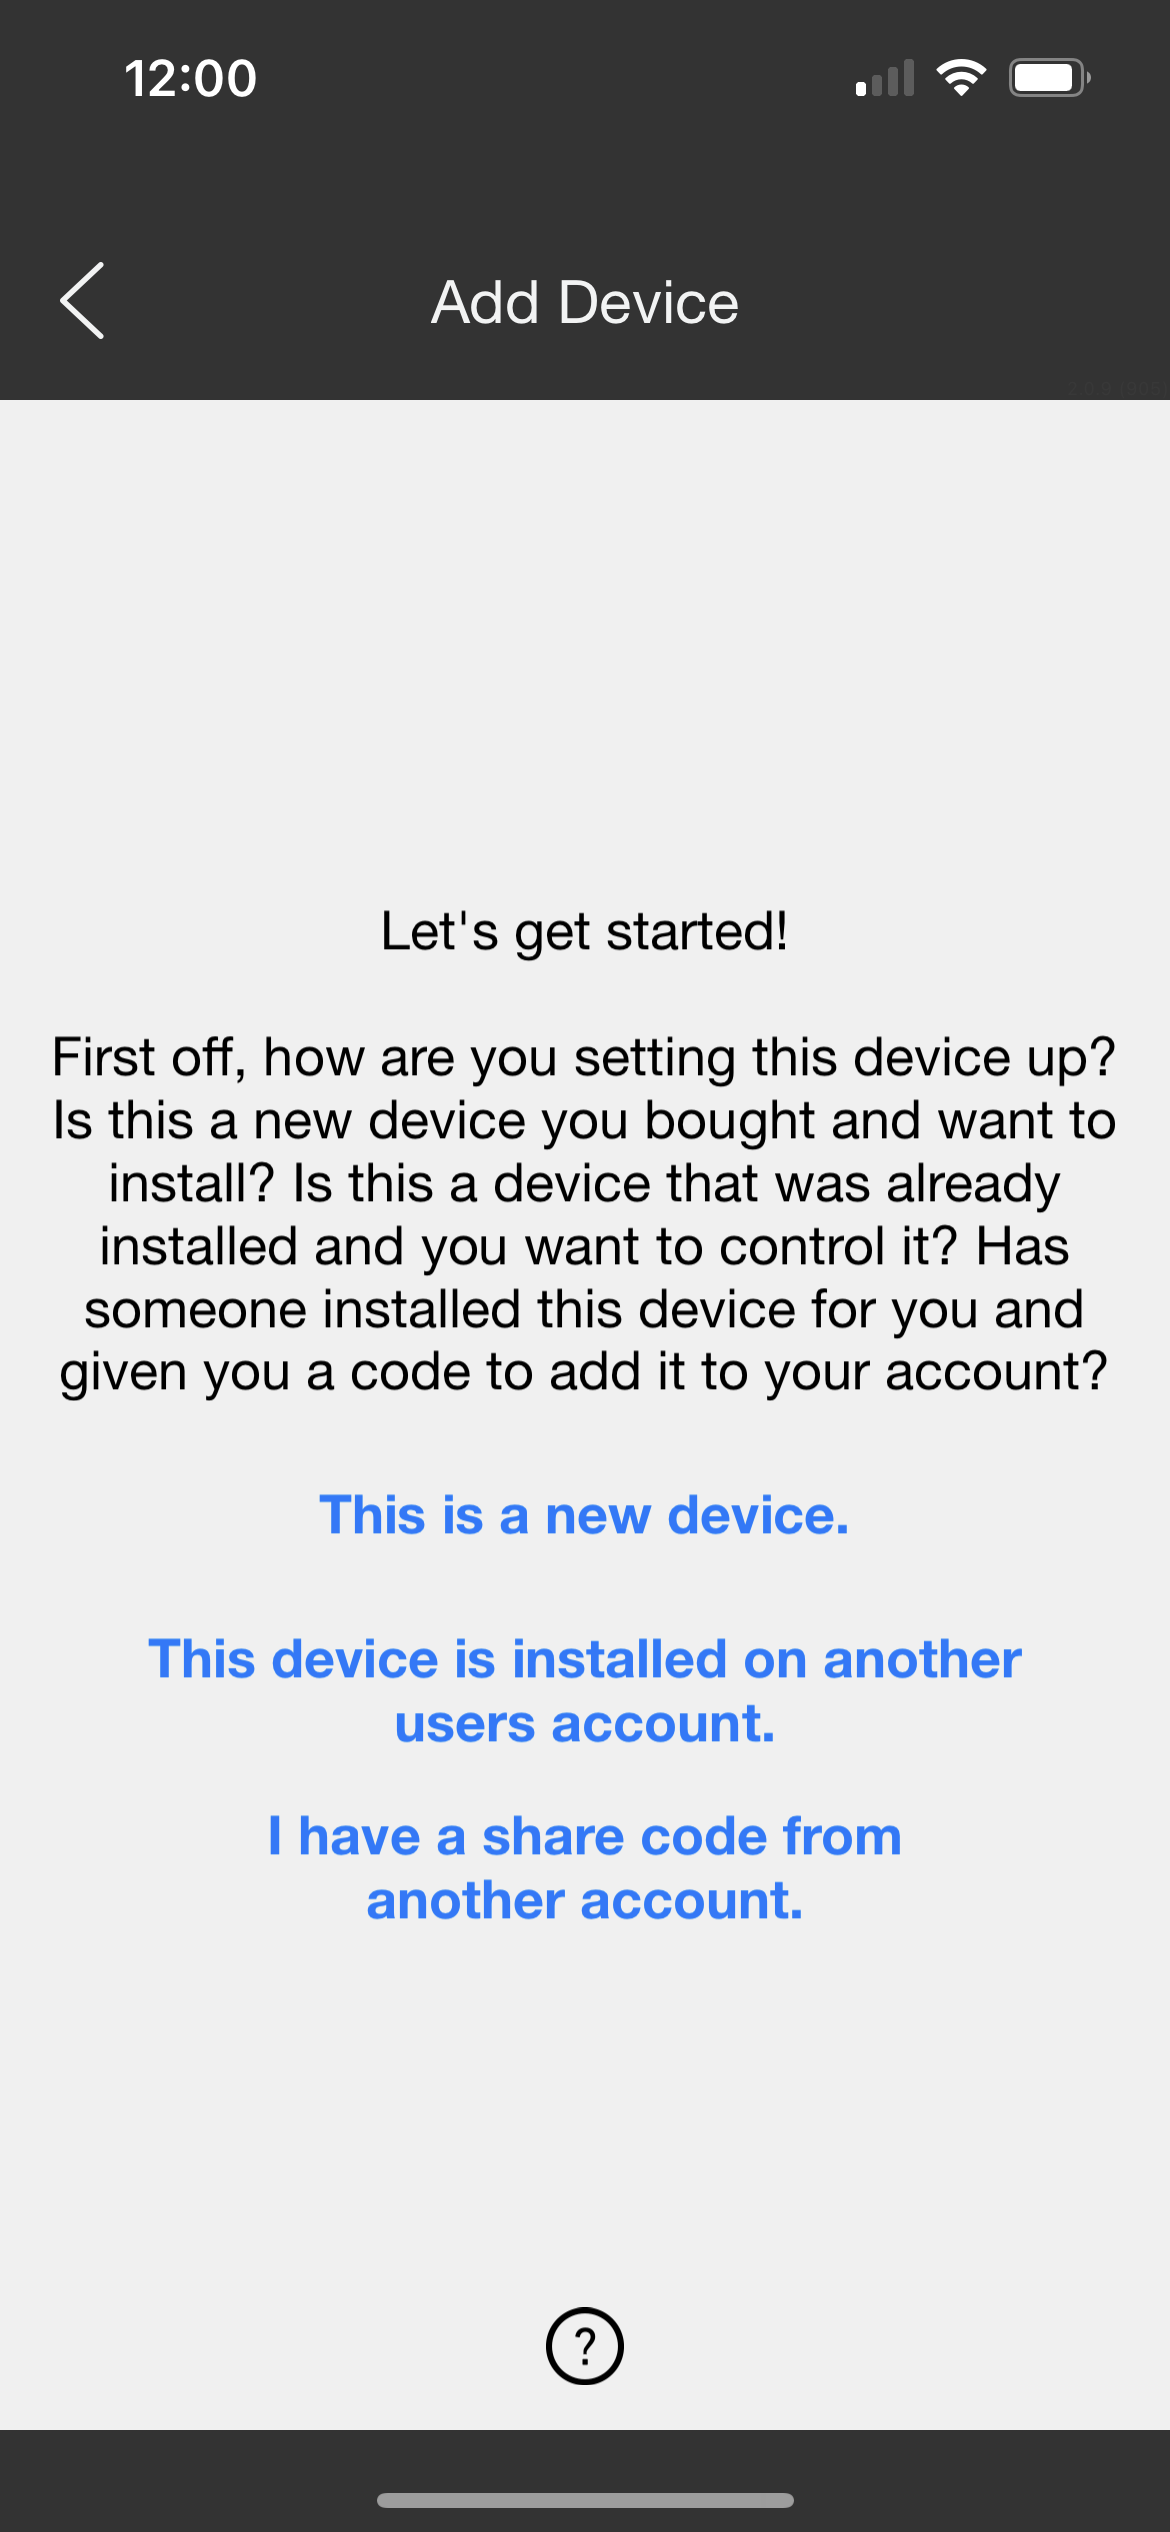
From here, you can see all devices that are on your account currently. If you scroll to the bottom of this page you will see an “Add device” option with a “+” button to the right of it. Please press this button and then select “Add device”. Then you will be asked if this is a new device. Please select “This is a new device”.
*Note: if this is your first time setting up a device on the B-hyve account, then once you create your account and sign in, you will be prompted with the add device page and you will want to select “This is a new device”*
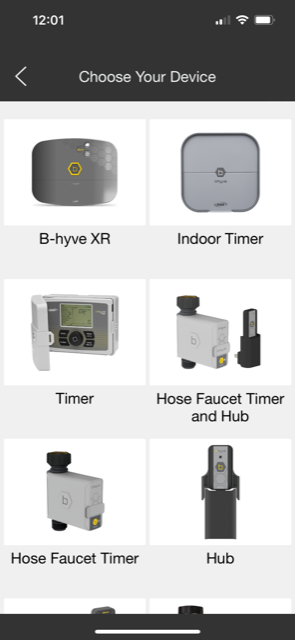
Next, you will select the type of B-hyve device that you are connecting to.
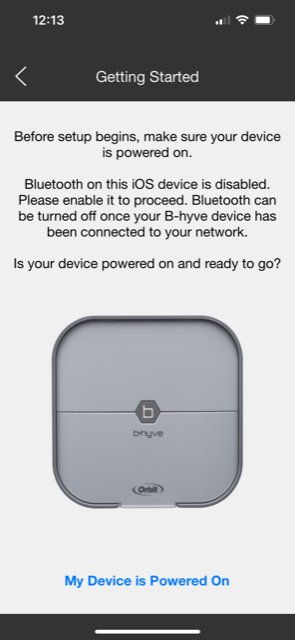
Next, you will be asked to make sure that your Bluetooth service is enabled for the B-hyve app and for the phone/tablet you are using. Then once your B-hyve device is powered on, select “My device is powered on”
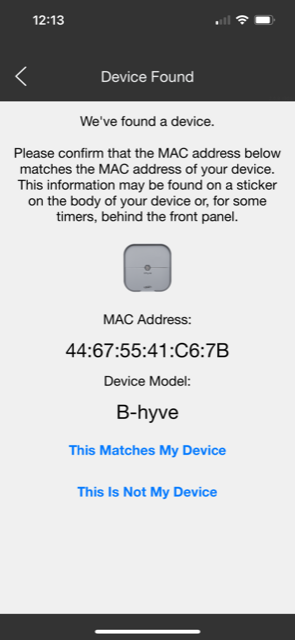
Then you will be on the “Device Found” Page. From here, confirm that the MAC address that was found matches your device, then select “This matches my device”.
After that, you will see a loading screen that says “Connecting to device”
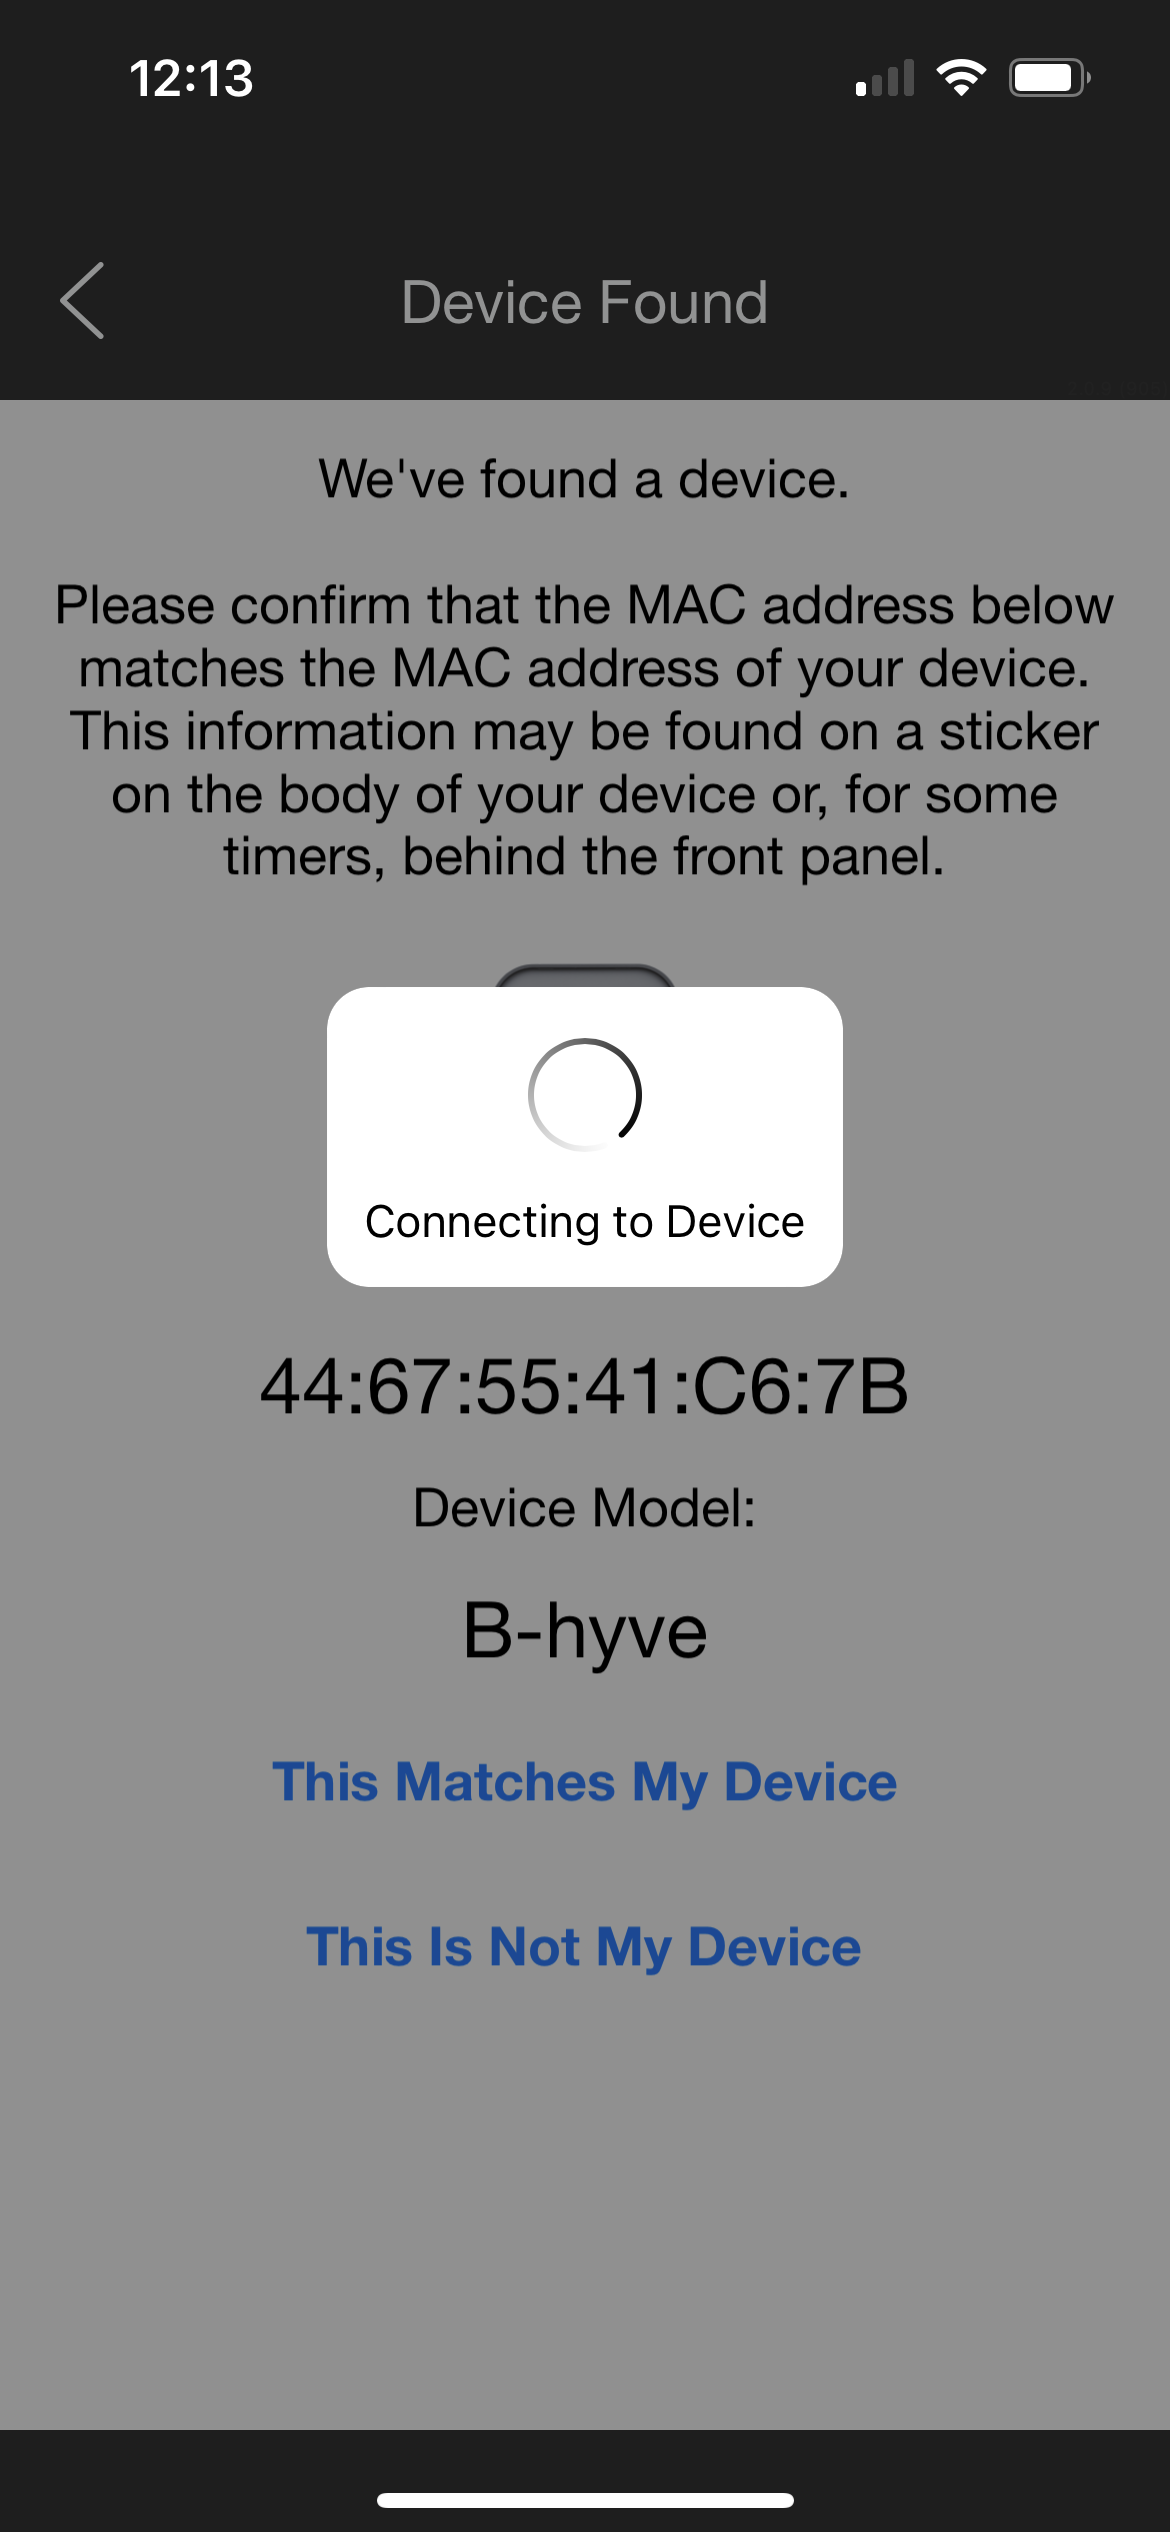
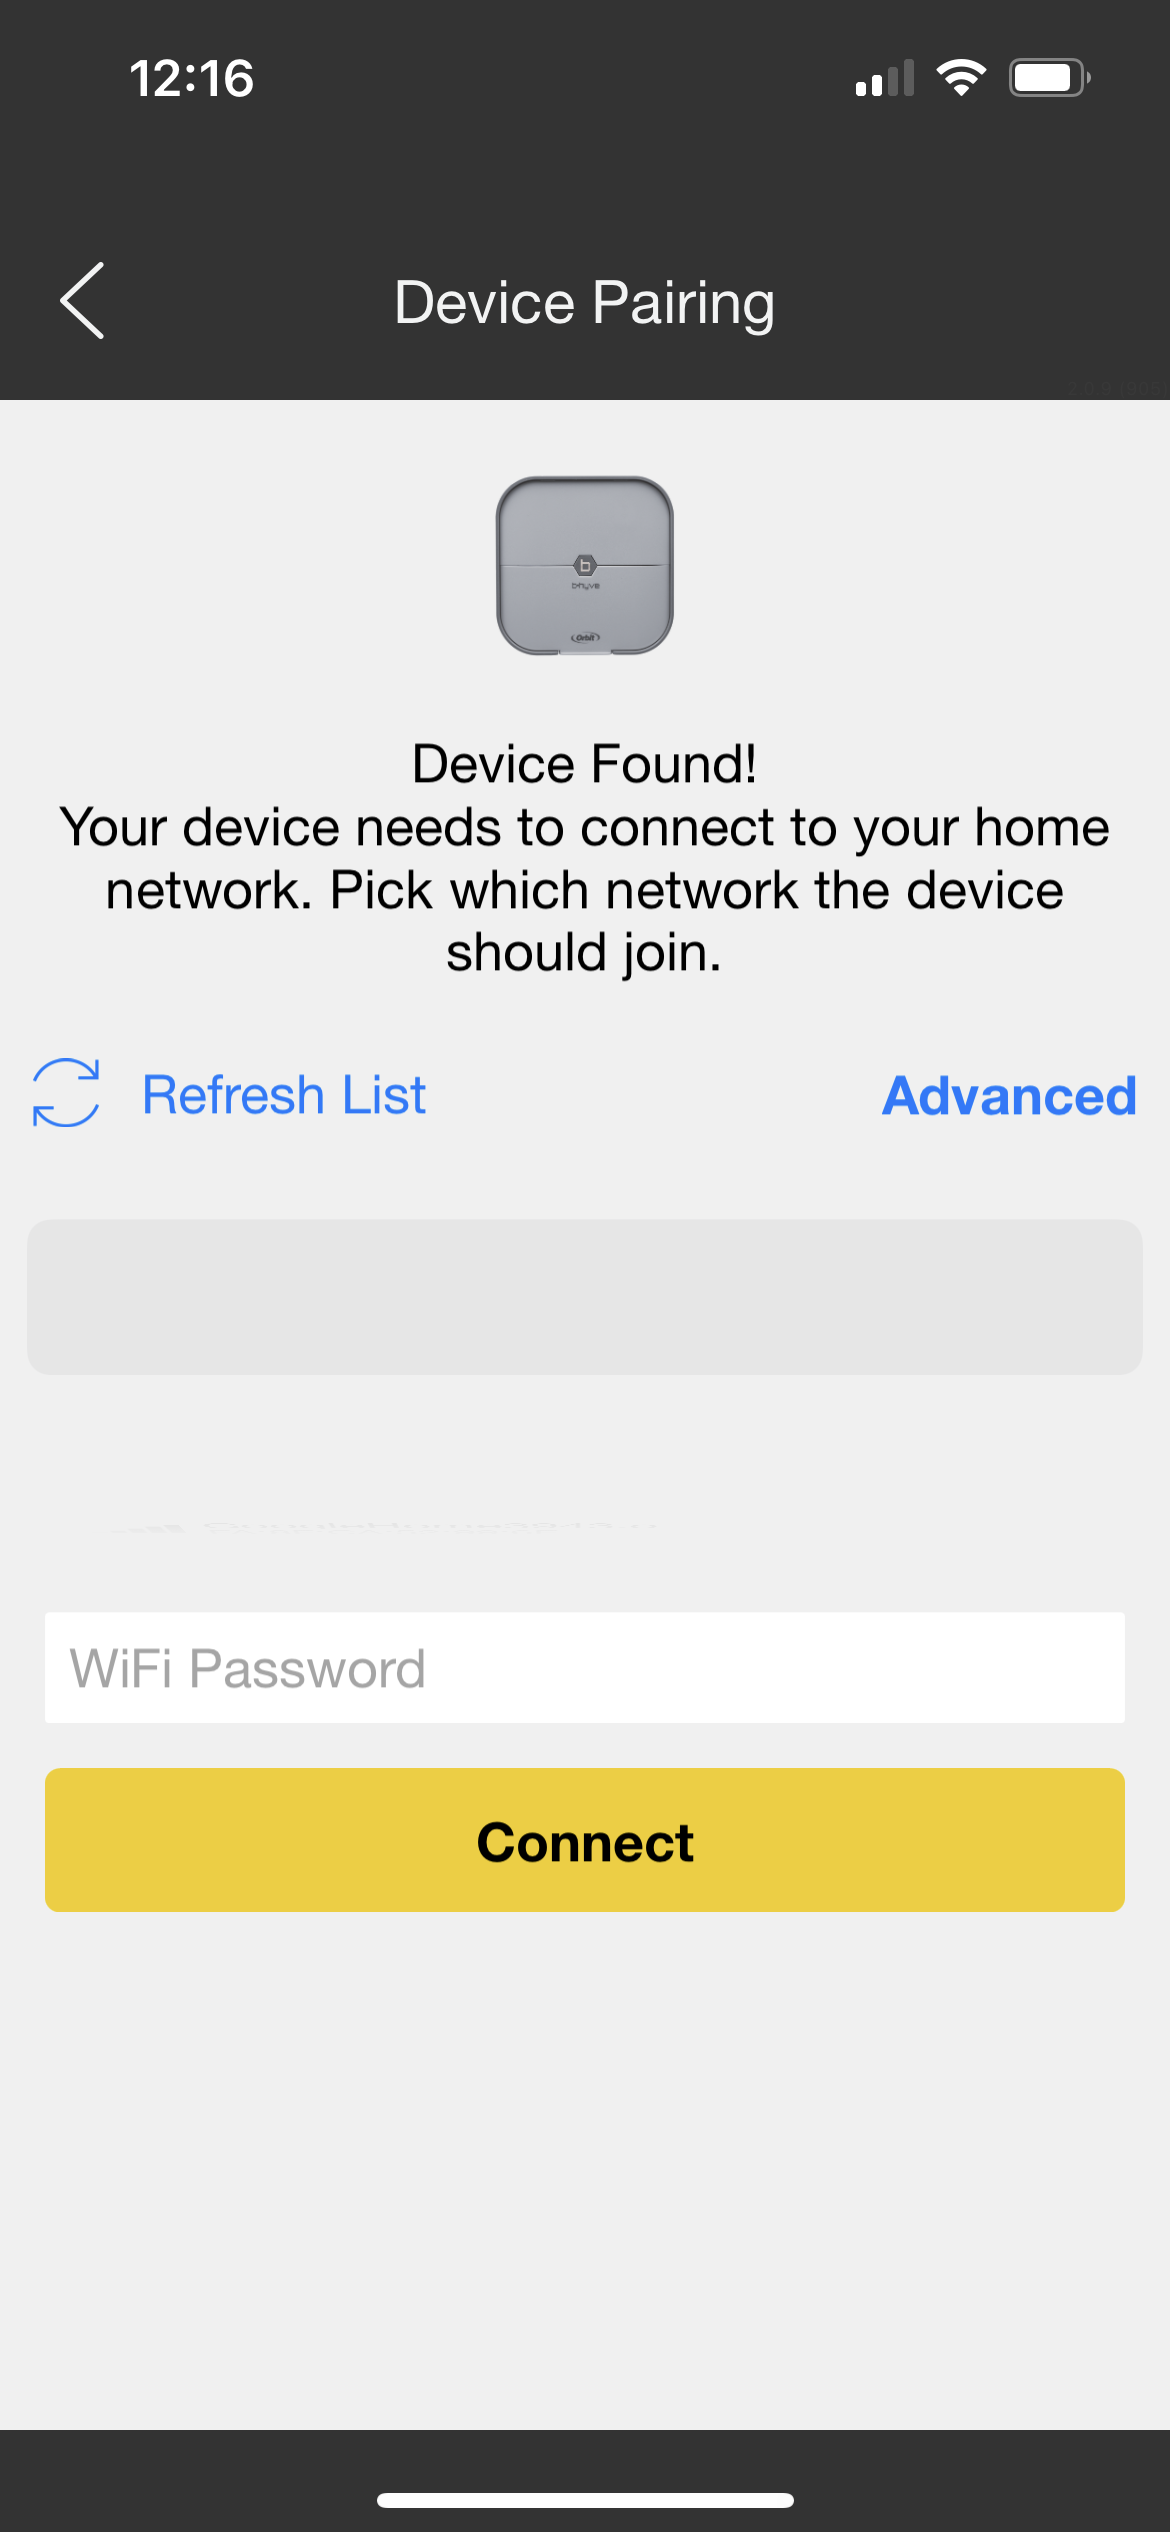
Once the device is found and connected to Bluetooth, you will be on the “Device Pairing” page. You will have a list of all available networks pop up. Once you have your network chosen, if your network does not have a password, simply press “Connect” in the yellow box.
*If you do have a password, just enter the password for the network into the box that says “WiFi password” and hit “Connect”
Once you have completed these steps your device should be connected and you will be asked to complete the setup process by entering relevant information for your Timer.


